G612007HD
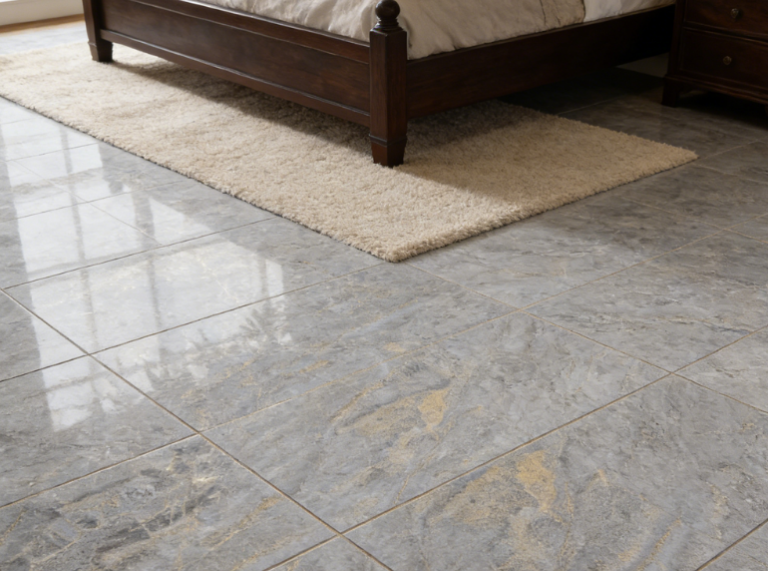
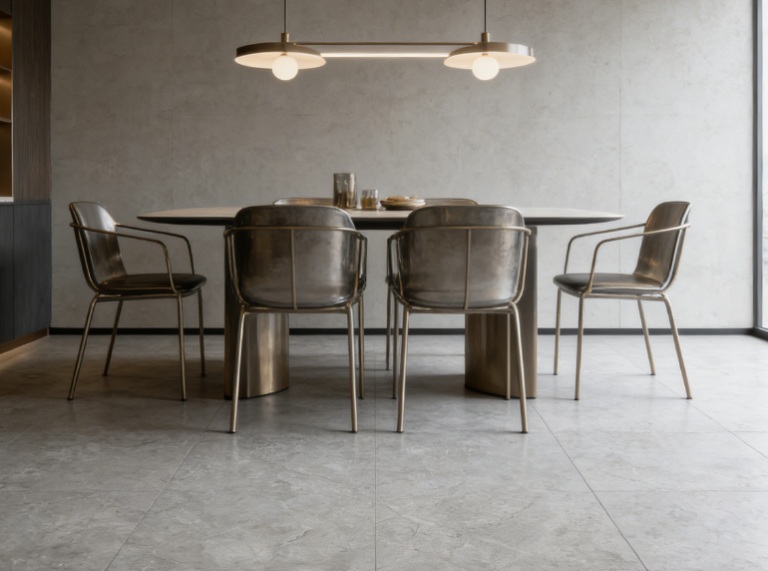
Experience the perfect balance of durability and design precision. Our porcelain tile solutions combine advanced manufacturing technology with refined aesthetics, delivering long-lasting performance for residential, commercial, and high-traffic environments worldwide.
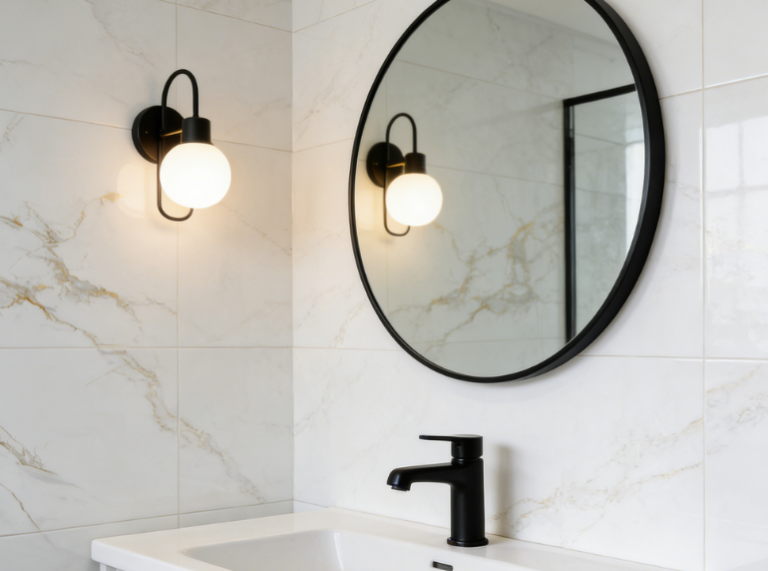
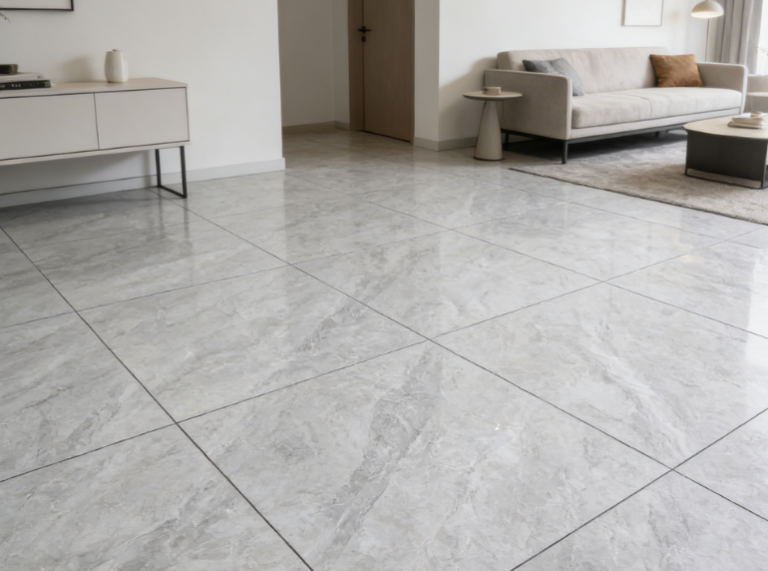
Follow these detailed installation steps to ensure optimal performance and longevity of your porcelain tile installation. Proper preparation and technique are essential for achieving professional results suitable for indoor flooring and wall applications.
Ensure the surface is clean, dry, and free of dust, grease, or any loose material for optimal adhesion.
Accurate measurement and layout planning are crucial for professional finish and proper alignment.
Apply appropriate adhesive and install tiles with proper technique for strong bonding.
Ensure proper alignment and level surface across all installed tiles.
Complete joint filling after adhesive has properly set for optimal results.
Proper final cleaning and curing time ensure long-term performance.
Experience the superior performance characteristics that make porcelain tile the preferred choice for demanding applications. Our advanced manufacturing process delivers uncompromising quality and long-term value.
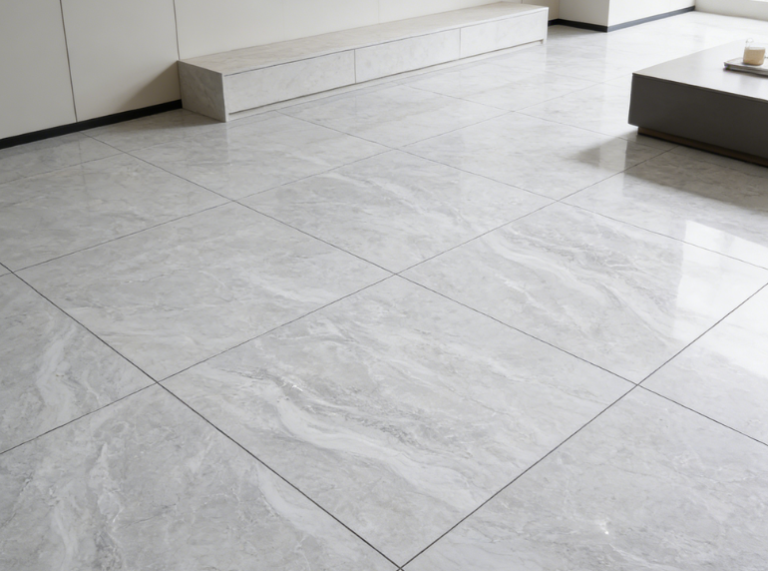
High-density vitrified structure ensures superior mechanical strength, making porcelain tile highly resistant to wear, impact, and heavy loads.
With water absorption typically below 0.5%, porcelain tiles provide excellent resistance to moisture, frost, and staining.
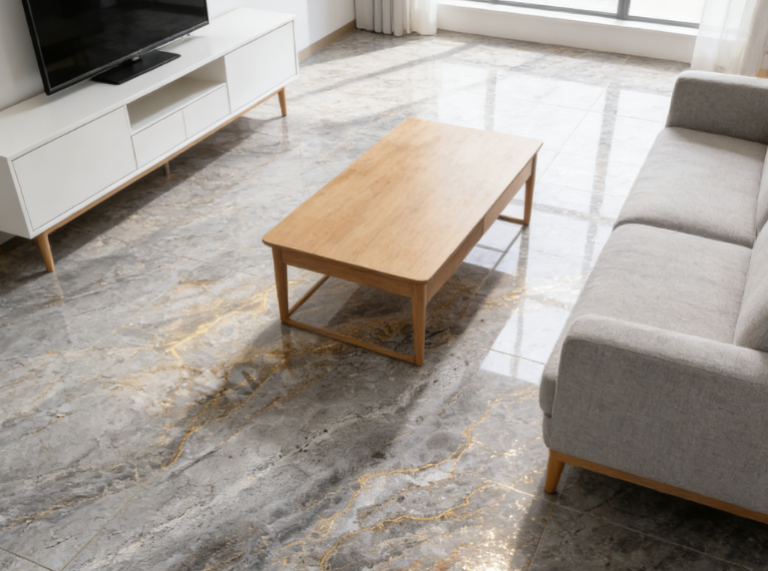
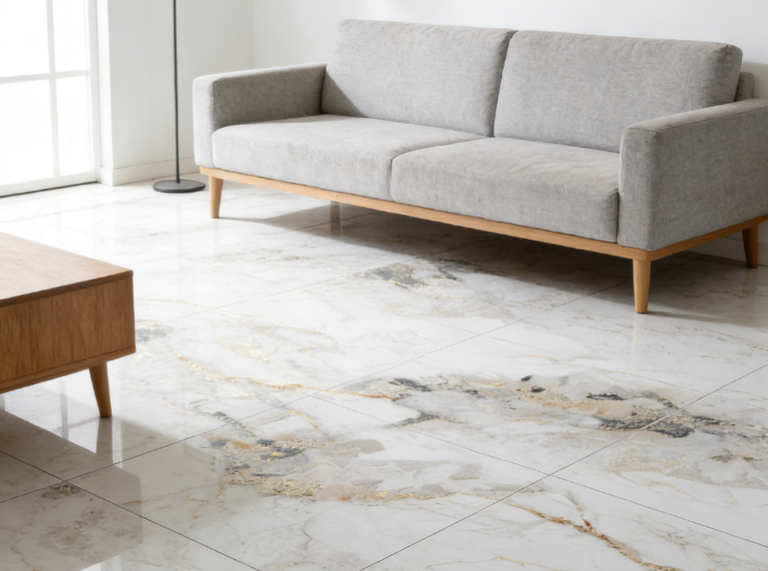
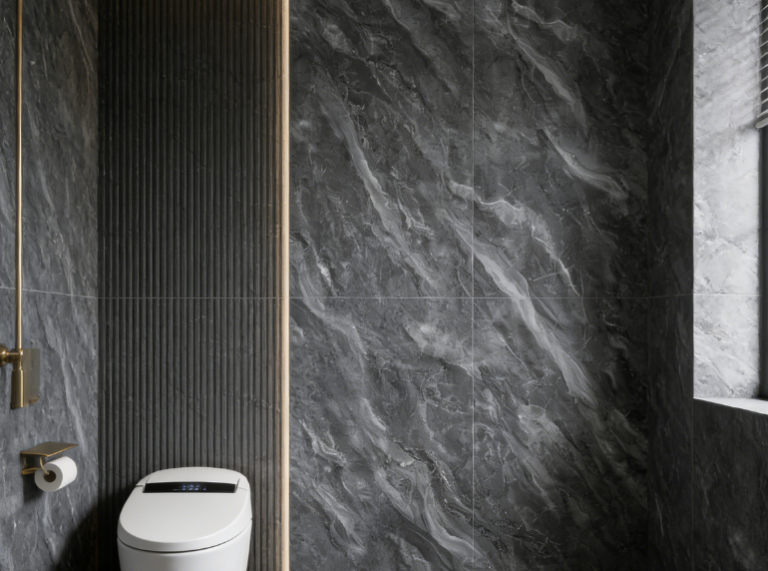
Advanced digital printing and surface finishing technologies replicate authentic beauty of natural materials.
Inherently non-combustible and chemically stable, maintaining integrity under extreme conditions.
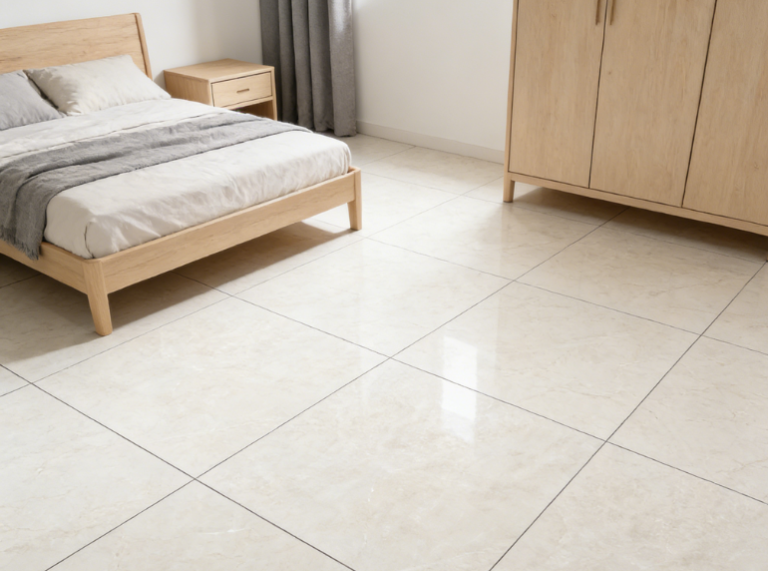
Dense, non-porous surface prevents bacterial growth and simplifies cleaning requirements.
Combining durability, minimal maintenance, and long service life for superior long-term value.

Contact us
Porcelain tiles & flexible stone. Get wholesale catalog, FOB pricing & samples.