Porcelain vs. Ceramic: Why the Difficulty Differs
While porcelain and ceramic tiles may look similar on the surface, their structural compositions create a significant gap in installation difficulty. Porcelain is a specialized subtype of ceramic, fired at much higher temperatures to achieve a denser, more glass-like state. This superior engineering makes it more durable but also more challenging for a DIY project.
Density and Hardness: The Tool Challenge
Porcelain’s extreme density is its greatest strength and its biggest installation hurdle. Because it is much harder than standard ceramic, it requires specialized equipment to handle.
- Cutting Difficulty: A standard manual snap cutter often fails to produce a clean break on porcelain. You will almost certainly need a wet tile saw equipped with a high-quality diamond blade.
- Drilling Requirements: If you need to install plumbing fixtures or accessories, standard masonry bits won’t work. You must use diamond-tipped hole saws to penetrate the surface without burning out your drill.
The “Brittle” Factor: Precision is Mandatory
The same hardness that makes porcelain scratch-resistant also makes it brittle. Unlike softer ceramic, porcelain does not “give” under pressure.
- Edge Chipping: Improper cutting techniques or dull blades will cause the factory finish to chip along the edges.
- Handling Risks: Large format porcelain tiles are heavy and rigid. Dropping a corner or applying uneven pressure during the setting process can lead to immediate cracks.
Absorption Rates and Mortar Bonding
Porcelain is classified by its incredibly low water absorption rate (less than 0.5%). While this makes it waterproof and frost-proof, it creates a bonding challenge.
- Low Porosity: Standard mortars cannot penetrate the surface of porcelain to create a mechanical bond.
- Modified Thin-set: You must use a high-performance, polymer-modified thin-set mortar. These adhesives are chemically engineered to “stick” to the non-porous back of the tile, ensuring the floor doesn’t lift or shift over time.
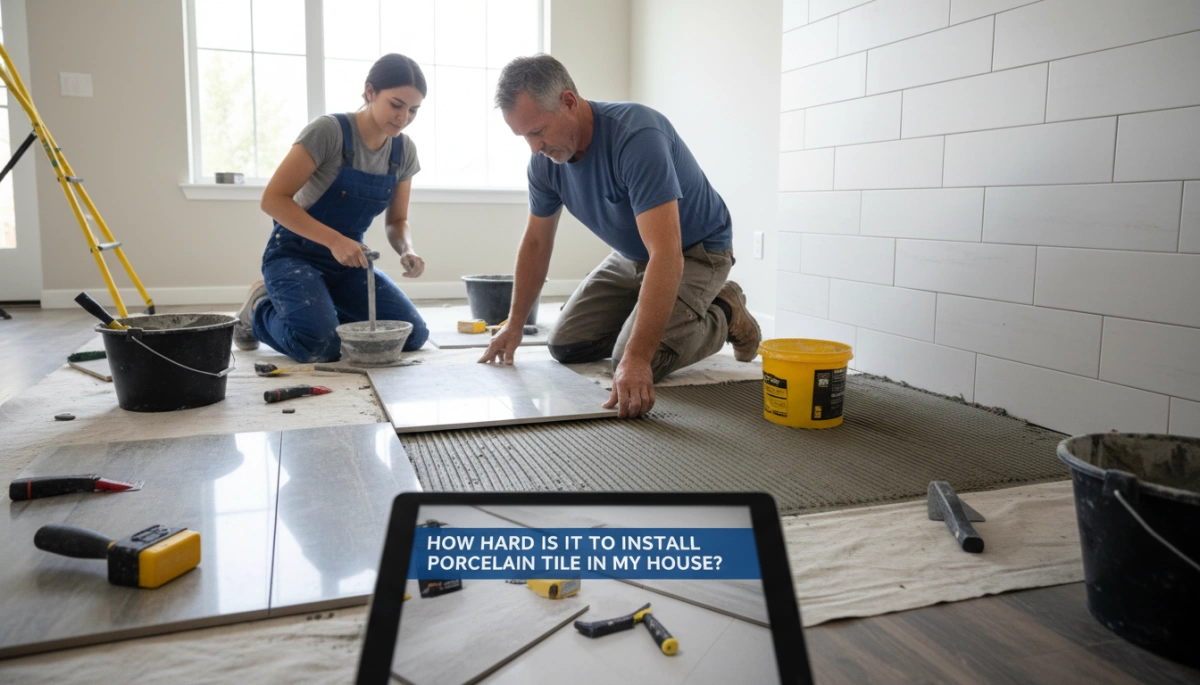
The 5 Pillars of Installation Difficulty
Understanding how hard it is to install porcelain tile in my house starts with mastering these five critical phases. Each step requires specific tools and high attention to detail to ensure a professional finish.
- Subfloor Preparation: This is the foundation of the entire job. The surface must be perfectly flat and rigid. I always prioritize a proper backer board installation to eliminate floor deflection. If the subfloor moves even a fraction, your new porcelain will eventually crack.
- Layout and Planning: Never start in a corner without a plan. You need to map out the room to avoid “sliver” cuts at the walls. Using tile spacers during a dry-fit ensures the room looks symmetrical and the grout lines remain perfectly straight.
- Cutting the Tile: Porcelain’s density makes it notoriously difficult to cut compared to ceramic. While a snap cutter might work for basic jobs, I recommend a wet tile saw equipped with a high-quality diamond blade. This is the only way to get clean, chip-free edges on such hard material.
- Thin-set Application: Achieving 100% coverage with thin-set mortar is non-negotiable. You must use the correct notched trowel size for your specific tile dimensions. Proper technique here is the only way to prevent lippage, which is when one tile edge sits higher than its neighbor.
- Grouting and Cleanup: This is the most physically demanding part of the process. Using a grout float, you have to work the material into the joints and then clean the surface before the grout hardens. It requires speed and precision to avoid leaving a permanent haze on your new tile flooring.
Essential Tool Kit for Installing Porcelain Tile
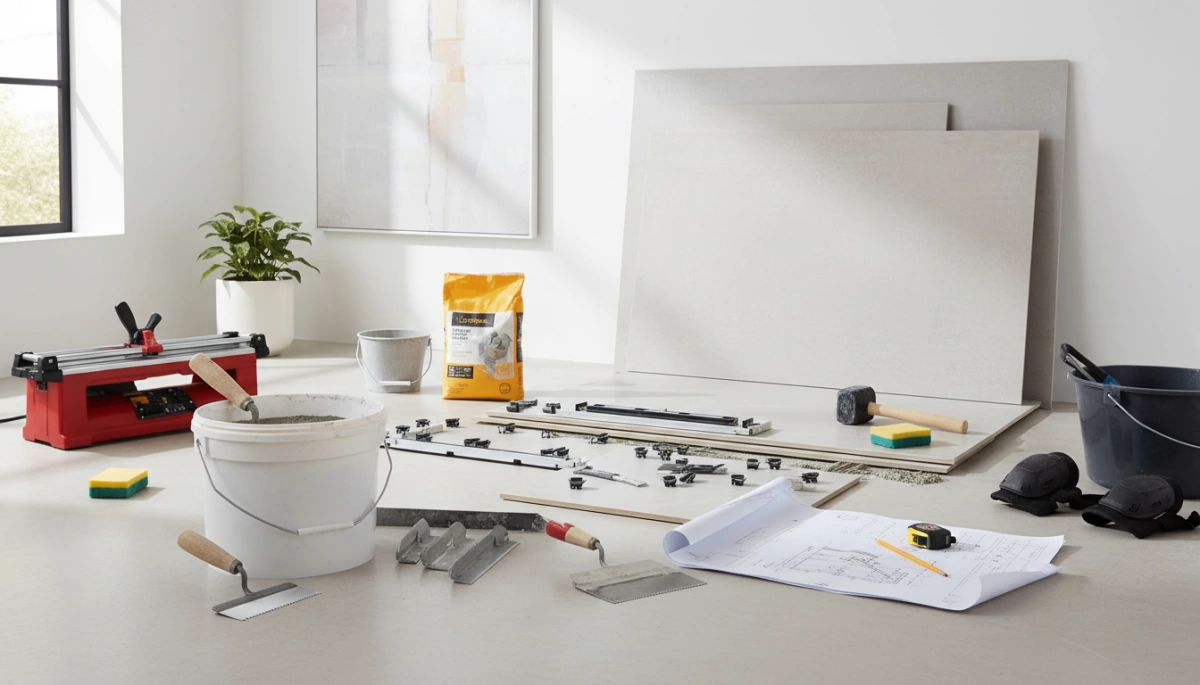
To handle a DIY floor tile installation successfully, you need more than just a hammer and a level. Porcelain is significantly denser than ceramic, meaning your standard toolkit won’t cut it. Having the right gear determines whether your floor looks like a professional job or a weekend mistake.
Must-Have Cutting and Setting Tools
Precision is everything when you are working with high-density materials. If you want clean edges and a flat finish, these tools are mandatory:
- Wet Tile Saw with Diamond Blade: Porcelain is incredibly hard. A manual snap cutter might work for some straight lines, but a wet tile saw is the only way to get chip-free, professional cuts and complex notches.
- Notched Trowel: The notched trowel size matters. For large format porcelain tile, I recommend a 1/2″ x 1/2″ square notch to ensure the thin-set mortar gets full coverage.
- Rubber Grout Float: This allows you to spread grout into the joints firmly without damaging the tile surface.
- Mixing Paddle: Don’t mix your mortar by hand. Use a drill attachment to get a peanut-butter consistency every time.
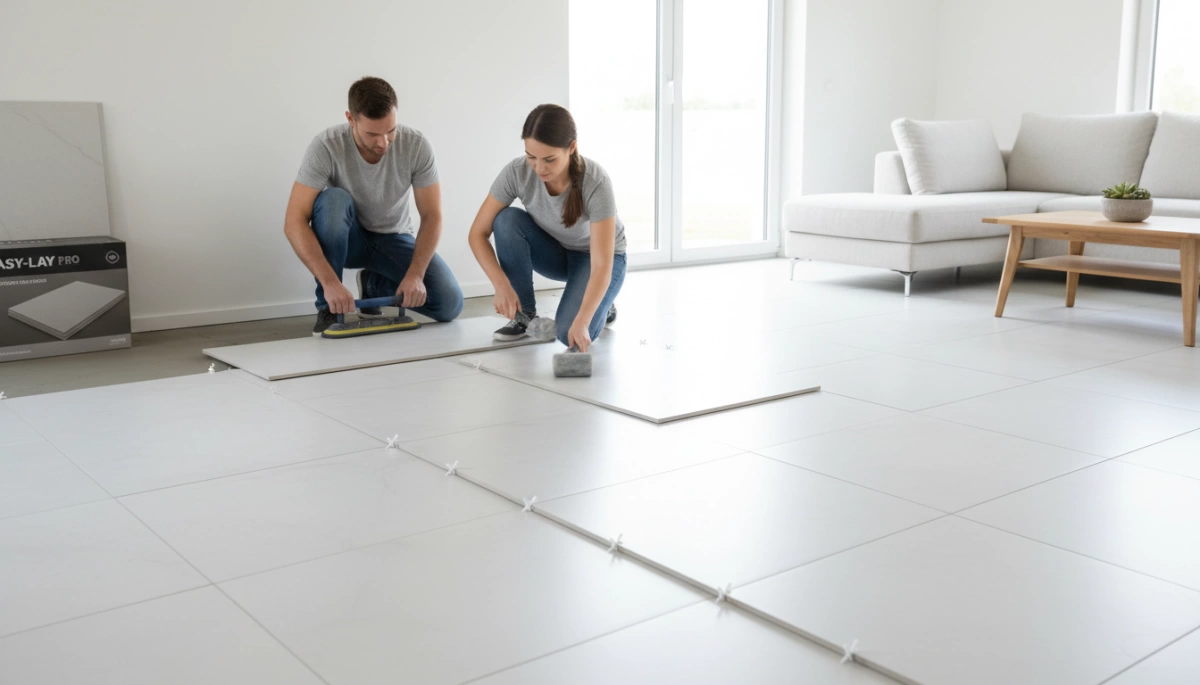
The “Game Changer”: Tile Leveling Systems
If you are worried about lippage—where one tile edge sits higher than its neighbor—a tile leveling system is your best friend. These clips and wedges lock the tiles into a perfectly flat plane while the mortar cures. It is the most effective way for a beginner to achieve a high-end, flush finish across the entire room.
Essential Safety Gear
Installing porcelain tile is a physical job that creates sharp debris and fine dust. Protect yourself with the following:
- Professional Knee Pads: You will spend hours on the floor; don’t ruin your joints.
- Safety Glasses: Porcelain shards are like glass when they fly off a saw.
- Dust Mask or Respirator: Essential when mixing dry mortar or cutting tiles to avoid inhaling silica dust.
- Work Gloves: Protect your hands from the sharp edges of cut tiles and the drying effects of thin-set.
Common Pitfalls That Make Installing Porcelain Tile Harder
When customers ask us, “How hard is it to install porcelain tile in my house?”, we always point to a few avoidable mistakes. DIY floor tile installation is completely doable, but falling into these traps will quickly turn a weekend project into a frustrating headache.
Here are the most common mistakes that complicate the job:
- Ignoring expansion joints in large rooms: Houses naturally shift and settle over time. If you lay porcelain tile across a massive area without leaving expansion gaps at the perimeters, the built-up pressure will eventually cause the tiles to crack or pop loose.
- Mixing too much thin-set mortar at once: Thin-set dries quickly. If you mix a massive bucket right out of the gate, it will start curing before you can even spread it. Mix small, manageable batches so you have plenty of time to set the tiles properly and prevent lippage.
- Improperly spaced grout lines: Eyeballing your gaps is a guaranteed way to ruin the final look of your tile flooring. Always use high-quality tile spacers. They keep your grout lines perfectly consistent and help maintain a straight, professional layout across the entire room.
- Choosing the wrong tile size for a first project: Large format porcelain tile looks incredibly modern, but it is heavy and highly unforgiving if your subfloor is not perfectly flat. If this is your first time cutting porcelain tiles and laying a floor, stick to a more manageable size like 12×24 inches. It is much easier to handle, level, and install correctly.
DIY vs. Professional: How Hard Is It to Install Porcelain Tile in My House?
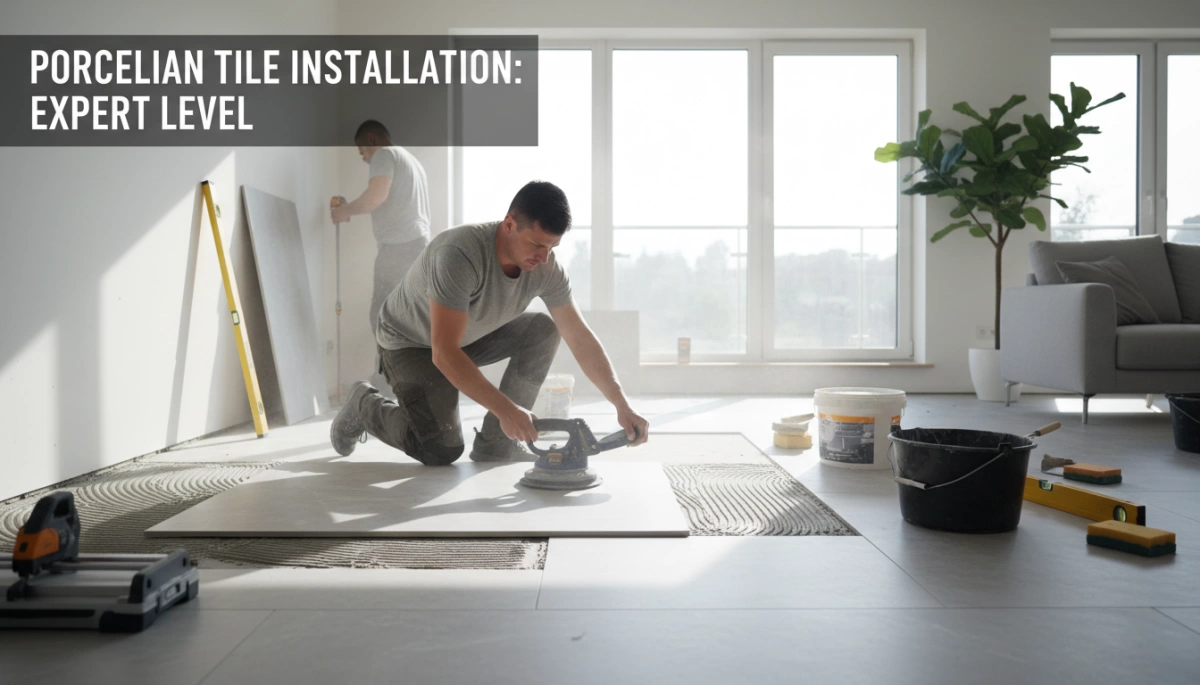
Deciding whether to take on a porcelain tile project yourself or hire a professional comes down to the scale of the room and your tolerance for precision work. While DIY saves on labor, the technical demands of porcelain tile durability and weight mean mistakes are costly.
When to DIY the Installation
Taking the DIY route is manageable if you are working in small, contained spaces. If you have a high level of patience and a steady hand, you can successfully lay porcelain tile in:
- Small Rooms: Bathrooms, laundry rooms, or entryways where there is less square footage to manage.
- Tight Budgets: When saving on labor costs is a priority and you have the time to learn the nuances of thin-set mortar application.
- Simple Layouts: Straight-grid patterns that don’t require complex diagonal cuts or intricate borders.
When to Hire a Professional
For high-traffic areas or complex designs, professional expertise is worth the investment. You should hire a pro for:
- Large Open Areas: Managing large format porcelain tile across a living room requires a perfect tile leveling system to prevent lippage.
- Intricate Patterns: Herringbone, chevron, or custom mosaics require advanced math and precise cuts with a wet tile saw.
- Structural Issues: If your home has high floor deflection, a pro will know exactly how to handle the subfloor preparation and backer board installation to prevent future grout cracks.
Cost Analysis: Tools vs. Labor
Before deciding, compare the overhead of a DIY job against a professional quote.
| Expense Category | DIY Approach | Professional Hire |
|---|---|---|
| Tools | High initial cost (Rent/Buy wet tile saw, diamond blade, grout float) | Included in service |
| Materials | Retail pricing for tile, spacers, and notched trowels | Often includes contractor discounts |
| Labor | $0 (but costs significant personal time) | Higher upfront cost for expert installation |
| Risk Factor | High risk of wasted tile due to bad cuts | Guaranteed finish and often insured |
Choosing to DIY is a commitment to the process. If you aren’t prepared to handle the physical toll and the precision required for a flat, even floor, hiring a professional ensures your investment in high-quality porcelain lasts a lifetime.
Why Quality Material Matters: The YASIQI Advantage
The difficulty of your project often comes down to the quality of the product you choose. Low-grade tiles are prone to bowing, cracking, and size variations that make a “simple” job impossible. At YASIQI, we manufacture porcelain tile with the installer’s success in mind, ensuring the material works with you, not against you.
Precision Engineering for Easier Installation
When you install porcelain tile, you need material that handles the stress of the job. Our manufacturing process focuses on three critical areas that directly reduce installation difficulty:
- Superior Cutability: High-quality porcelain shouldn’t shatter the moment it touches a blade. YASIQI tiles are engineered for structural density, allowing for clean, crisp edges when using a wet tile saw or diamond blade. This significantly reduces waste and frustration from mid-cut breakage.
- Eliminating Lippage: One of the biggest headaches in tile flooring is lippage—where one tile edge sits higher than its neighbor. We maintain strict control over flatness and thickness. Uniform tiles mean you spend less time fighting with thin-set mortar and more time moving the project forward.
- Dimensional Consistency: If tiles vary in size by even a fraction of an inch, your grout lines will eventually drift out of alignment. Our tiles are rectified and calibrated to ensure every piece is identical, making it much easier to achieve a professional, symmetrical layout.
Investing in Success
Choosing premium material is the most effective way to simplify DIY floor tile installation. By providing a product that is perfectly flat and durable, we help you avoid the common pitfalls that turn a weekend project into a week-long struggle. High manufacturing standards ensure that whether you are a first-timer or a seasoned pro, the final result is a smooth, level, and high-end finish.
FAQs About Installing Porcelain Tile
When people ask us, “How hard is it to install porcelain tile in my house?”, a few specific questions always pop up. As a porcelain tile manufacturer and supplier, we hear these all the time. Here are the straight answers to help you plan your DIY floor tile installation.
Can I install porcelain tile over existing flooring?
Yes, but subfloor preparation is non-negotiable. You can lay porcelain tile over concrete or existing tile if the surface is completely flat and rigid. If you are going over a wooden subfloor, you must eliminate any floor deflection (bounciness). Proper backer board installation is usually required over wood to create a solid, unmoving base that prevents your new tile flooring from cracking.
Do I really need a wet saw for porcelain?
Absolutely. The snap cutter vs. wet saw debate ends quickly when you factor in porcelain tile durability and density. While a manual snap cutter might work for softer ceramics, cutting porcelain tiles cleanly requires a wet tile saw equipped with a high-quality diamond blade. This is the only reliable way to prevent the brittle edges from chipping and to avoid wasting material.
How long does it take for porcelain tile to set?
Patience is critical here. After you lay the tile, the thin-set mortar generally needs 24 to 48 hours to cure properly. Do not walk on the floor or remove your tile leveling system during this window. Stepping on the tiles too early will cause them to shift, ruining your perfectly flat surface.
Is porcelain harder to grout than ceramic?
The physical grouting process is exactly the same. You use a standard rubber grout float to press the mixture deep into the joints. Because porcelain has an incredibly low water absorption rate, the grout won’t dry out as fast inside the joints compared to ceramic. However, you still need to wipe the excess grout off the tile surface promptly with a damp sponge to avoid leaving a stubborn, cloudy haze behind.
