Struggling with the final touches on your tile project? The wrong grout can ruin the look, collecting dirt and making your beautiful new porcelain tiles appear messy and unfinished.
Choosing the right grout involves two key steps. First, match the grout's features to the room's function—use a durable, stain-resistant type1 for kitchens. Second, select a color that either matches your porcelain tile for a seamless look or contrasts with it to highlight the pattern.
Getting the grout right is just as important as choosing the tile itself. It’s the final detail that pulls the entire project together, ensuring it not only looks fantastic but also lasts for years. So, let's dive into the details you need to know to make the perfect choice.
Why Should You Leave Gaps Between Tiles?
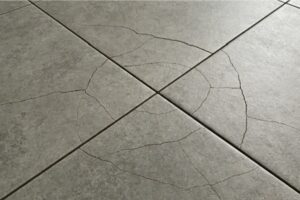
You want a perfectly smooth, seamless floor. Butting tiles right against each other seems like the way to go, but this can cause them to crack and buckle over time.
Leaving gaps between porcelain tiles is essential. These gaps, filled with grout, allow for natural expansion and contraction2 due to temperature changes. This prevents the tiles from cracking, popping up, or becoming damaged, ensuring the longevity and stability of your installation.
As a tile manufacturer, I've seen countless projects, and the best ones always pay attention to the fundamentals. Leaving a proper gap for grout is one of the most critical. Think of it like a safety net for your tiles. Buildings settle, temperatures fluctuate, and materials expand and contract.
Without that small gap, the pressure has nowhere to go. The force can build up until a tile cracks or lifts off the floor. We call this "tenting3," and it's a costly problem to fix. Furthermore, not all tiles are perfectly identical. Even with our advanced manufacturing, there can be tiny variations.
Grout lines help absorb these small differences, creating a visually straight and uniform pattern. It also makes repairs much easier. If a single tile gets damaged, you can carefully remove the grout around it and replace just that one tile, instead of disrupting the entire floor.
| Reason for Gaps | Why It's Important | Consequence of No Gaps |
|---|---|---|
| Thermal Expansion | Tiles expand in heat and shrink in cold. | Tiles can buckle, crack, or pop up. |
| Building Movement | The structure of a building settles over time. | Pressure can build, damaging the tiles. |
| Tile Size Variation | Accommodates minor differences in tile size. | Lines can look uneven and unprofessional. |
| Ease of Repair | Allows for single-tile replacement. | A small issue can require a large repair. |
What Exactly Is Tile Grout and Why Use It?
You see the empty spaces between your newly laid tiles. Leaving them open is not an option, as they quickly become traps for dirt, water, and all kinds of grime.
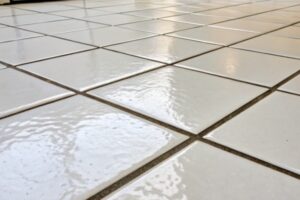
Tile grout is a cement-based filler used to fill the spaces between tiles. Its purpose is to lock the tiles together, prevent moisture and debris from getting underneath, and provide a finished, decorative look. It creates a durable, cleanable surface that protects the installation.
Grout is much more than just a filler. I think of it as the hardworking partner to the porcelain tile. It’s typically made from a mix of cement, sand, color pigments, and special additives like polymers. Once it hardens in the tile joints, it forms a surface that is incredibly tough and smooth, almost like the tile itself.
This surface is what gives your floor or wall its defenses. It’s wear-resistant4, so it can handle foot traffic. It’s waterproof and oil-proof5, which is essential in kitchens and bathrooms.
This prevents stains from setting in and stops water from seeping into the subfloor, which could cause major damage. Grout essentially seals the entire system, turning individual tiles into a single, strong, and cohesive surface. Without it, your tile installation is incomplete and vulnerable.
How Do You Choose The Right Grout?
You're standing in the hardware store, looking at a huge selection of grout. Picking the wrong one can lead to a color clash6 or grout that cracks and stains easily.
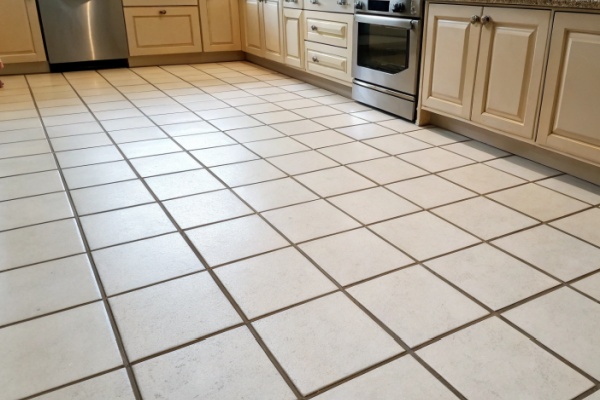
To choose the right grout, consider the environment and the tile color. For wet or busy areas like kitchens and bathrooms, pick a high-performance grout7 that resists stains and mold. Then, choose a color that matches, complements, or contrasts with your porcelain tiles for the desired look.
Choosing the right grout comes down to two simple questions: Where is it going, and what do you want it to look like? First, think about the room. A kitchen with lots of cooking spills needs a grout that can fight off oil and food stains.
A bathroom needs one that is waterproof and resists mold and mildew. For a high-traffic floor, you need a grout that is strong and won't wear down. This is the practical side of the decision. Second, consider the aesthetics. The color of your grout has a huge impact on the final design. You have three main strategies here.
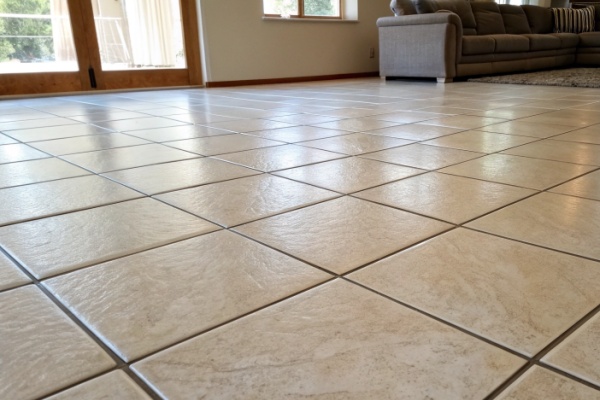
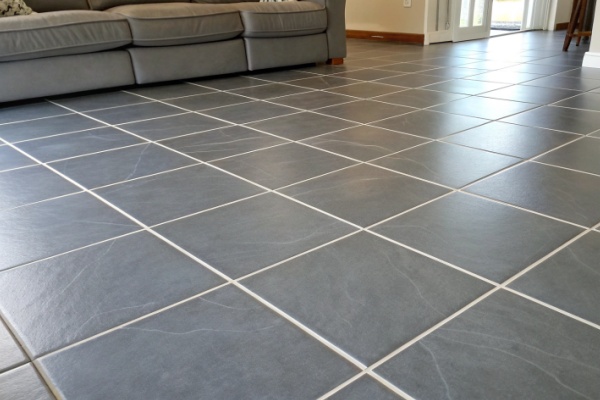
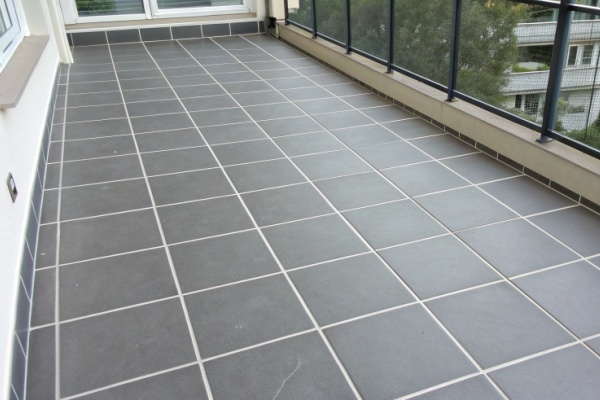
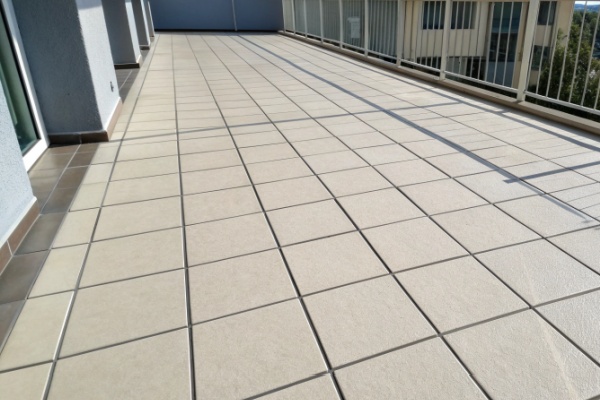
You can match the grout color to the tile, which creates a very uniform, seamless look and can make a small space feel larger. You can choose a contrasting color, like dark grout with light tiles, to make the tile shape and pattern stand out. Or you can pick a neutral, complementary color that blends in without disappearing completely.
| Color Strategy | Effect | Best For |
|---|---|---|
| Matching | Creates a seamless, unified look. | Making a space feel larger; minimalist designs8. |
| Contrasting | Highlights the shape and pattern of tiles. | Subway tiles, geometric patterns9, bold statements. |
| Complementing | Blends in quietly, providing a soft look. | Natural stone-look tiles; a subtle, elegant finish10. |
How Do You Apply Grout Correctly?
You have your tile and your perfect grout. But applying it incorrectly can leave a sticky haze on your tiles or create weak joints that will crack and fail over time.
To apply grout, first ensure the joints are clean. Mix the grout to a smooth paste, then press it into the joints with a rubber float11 at a 45-degree angle. After about 15 minutes, use a damp sponge12 to wipe the excess grout off the tile surface.
Applying grout is a process where patience pays off. I always break it down into a few simple stages for our clients. First, preparation is everything. The joints between the tiles must be completely clean. Any dust, debris, or water will weaken the grout. The joint should be at least 3mm deep. Next comes mixing.
Add the grout powder to the water slowly, following the instructions on the bag, until you have a smooth, lump-free paste. Let it sit for about five minutes, then give it one final stir. Now you're ready to apply. Use a rubber grout float to push the grout into the joints, holding the float at an angle to really pack it in. Once the joints are full, scrape off the excess.
Then, wait. After 10-15 minutes, the grout will have hardened slightly. This is the time for the initial cleanup. Use a damp sponge12 and gentle, circular motions to wipe the haze off the tile surface. Finally, let it cure properly. Keep it dry for at least 12 hours and avoid harsh, acidic cleaners.
Conclusion
Choosing and applying grout is key to a lasting, beautiful tile installation. Select based on room needs and color preference, and follow application steps carefully for a professional result.
Explore this link to find the best grout options that can withstand the demands of a busy kitchen environment. ↩
Understand the significance of allowing for natural expansion and contraction to prevent tile damage and ensure longevity. ↩
Discover how to avoid the costly issue of tenting by leaving proper gaps between tiles during installation. ↩
Explore the advantages of using wear-resistant grout in areas with heavy foot traffic to maintain a durable and attractive surface. ↩
Learn how waterproof and oil-proof grout can protect your tile installation from stains and water damage in wet areas. ↩
Get tips on selecting the right grout color to complement or contrast with your tiles for a harmonious design. ↩
Discover the features of high-performance grout that make it ideal for resisting stains and mold in kitchens and bathrooms. ↩
Learn how matching grout color to tiles can create a seamless look that complements minimalist design aesthetics. ↩
Discover how to choose grout colors that enhance geometric patterns and create a striking visual effect. ↩
Find out how to select grout colors that provide a soft, complementary look for a refined and elegant tile finish. ↩
Learn the proper technique for using a rubber float to ensure even and effective grout application between tiles. ↩
Find out how a damp sponge helps in cleaning excess grout and achieving a smooth finish on your tiles. ↩