
Is Porcelain Tile Too Slippery for a Shower Floor?
Understanding the Slip Risk of Porcelain in Wet Areas
Porcelain tile is an industry favorite for bathroom design, but its relationship with water requires careful planning. As a premier porcelain tile manufacturer and supplier, we know that the material itself is not inherently dangerous. Instead, slip risk is entirely determined by the surface finish. Raw porcelain is dense and non-porous, making it highly water-resistant. However, when a smooth, polished glaze is applied to that surface, standing water creates a hydroplaning effect, significantly increasing the risk of slips and falls in wet areas.
The Role of Water, Soap Scum, and Bathroom Safety
A shower floor faces a constant influx of water, body oils, shampoos, and conditioners. When mixed, these elements create a slick film known as soap scum.
- Water Accumulation: Standing water fills the microscopic pores of smooth tiles, eliminating friction.
- Soap Residue: Surfactants in soap leave behind a lubricating barrier that makes even moderately slip-resistant surfaces treacherous.
- Safety Priority: Maximizing bathroom safety requires selecting a tile surface that can cut through this film to maintain direct contact with the foot.
How COF (Coefficient of Friction) Determines Tile Safety
To scientifically measure slip resistance, the tile industry relies on the Dynamic Coefficient of Friction (DCOF) rating. This standard determines the amount of friction available when a person walks on a wet tile surface.
| DCOF Rating | Safety Level | Best Use Case |
|---|---|---|
| Under 0.42 | Low Slip Resistance | Wall applications and dry residential areas only. |
| 0.42 to 0.60 | Standard Slip Resistance | Level interior spaces expected to walk on when wet, like bathroom floors. |
| Greater than 0.60 | High Slip Resistance | Ideal for shower floors, ramps, and commercial wet environments. |
For a standard residential or commercial shower floor, choosing a porcelain tile with a DCOF rating of 0.42 or higher is the baseline requirement to ensure a secure, slip-resistant grip underfoot.
Polished vs. Matte vs. Textured Porcelain: Which is Best for Showers?
Choosing the right finish for your shower floor is the difference between a safe, spa-like experience and a dangerous slip hazard. As a porcelain tile manufacturer and supplier, we look at how different surfaces handle wet conditions to ensure your bathroom stays safe.
The Dangers of Polished Porcelain on Shower Floors
Polished porcelain looks stunning and luxurious, but it has no place on a shower floor. The polishing process smooths out the tile’s surface, removing all natural texture. When mixed with water and soapy runoff, polished porcelain becomes incredibly slick, acting like a sheet of ice. We strongly advise against using high-gloss finishes on any floor area exposed to heavy moisture.
Why Matte and Unpolished Finishes Offer Better Traction
A matte finish porcelain tile is a much safer option for wet environments. Because these tiles skip the final polishing stage, they retain a micro-textured, unpolished surface. This raw finish provides a stable grip underfoot, even when the floor is wet, drastically reducing the risk of accidents without sacrificing a modern, clean aesthetic.
The Benefits of Textured Porcelain for Enhanced Grip
For maximum safety, a textured surface porcelain tile is the gold standard. These tiles are manufactured with raised patterns, ridges, or slate-like grains that physically bite into the soles of your feet. This structural texture breaks up water tension, ensuring reliable slip resistance under the most demanding shower conditions.
| Porcelain Tile Finish | Slip Resistance Level | Best Used For | Safety Recommendation |
|---|---|---|---|
| Polished Porcelain | Very Low | Bathroom Walls, Backsplashes | Avoid on shower floors |
| Matte / Unpolished | Medium to High | Main Bathroom Floors, Shower Floors | Safe (Best with small tile sizes) |
| Textured Surface | Excellent | Shower Floors, Wet Rooms, Outdoor | Safest choice for maximum grip |
How Tile Size and Grout Lines Affect Slip Resistance
When we design shower floors as a porcelain tile manufacturer and supplier, we always emphasize that tile size is just as important as the surface finish. The dimensions of your flooring directly dictate how much friction your feet will have when the shower is wet and soapy.
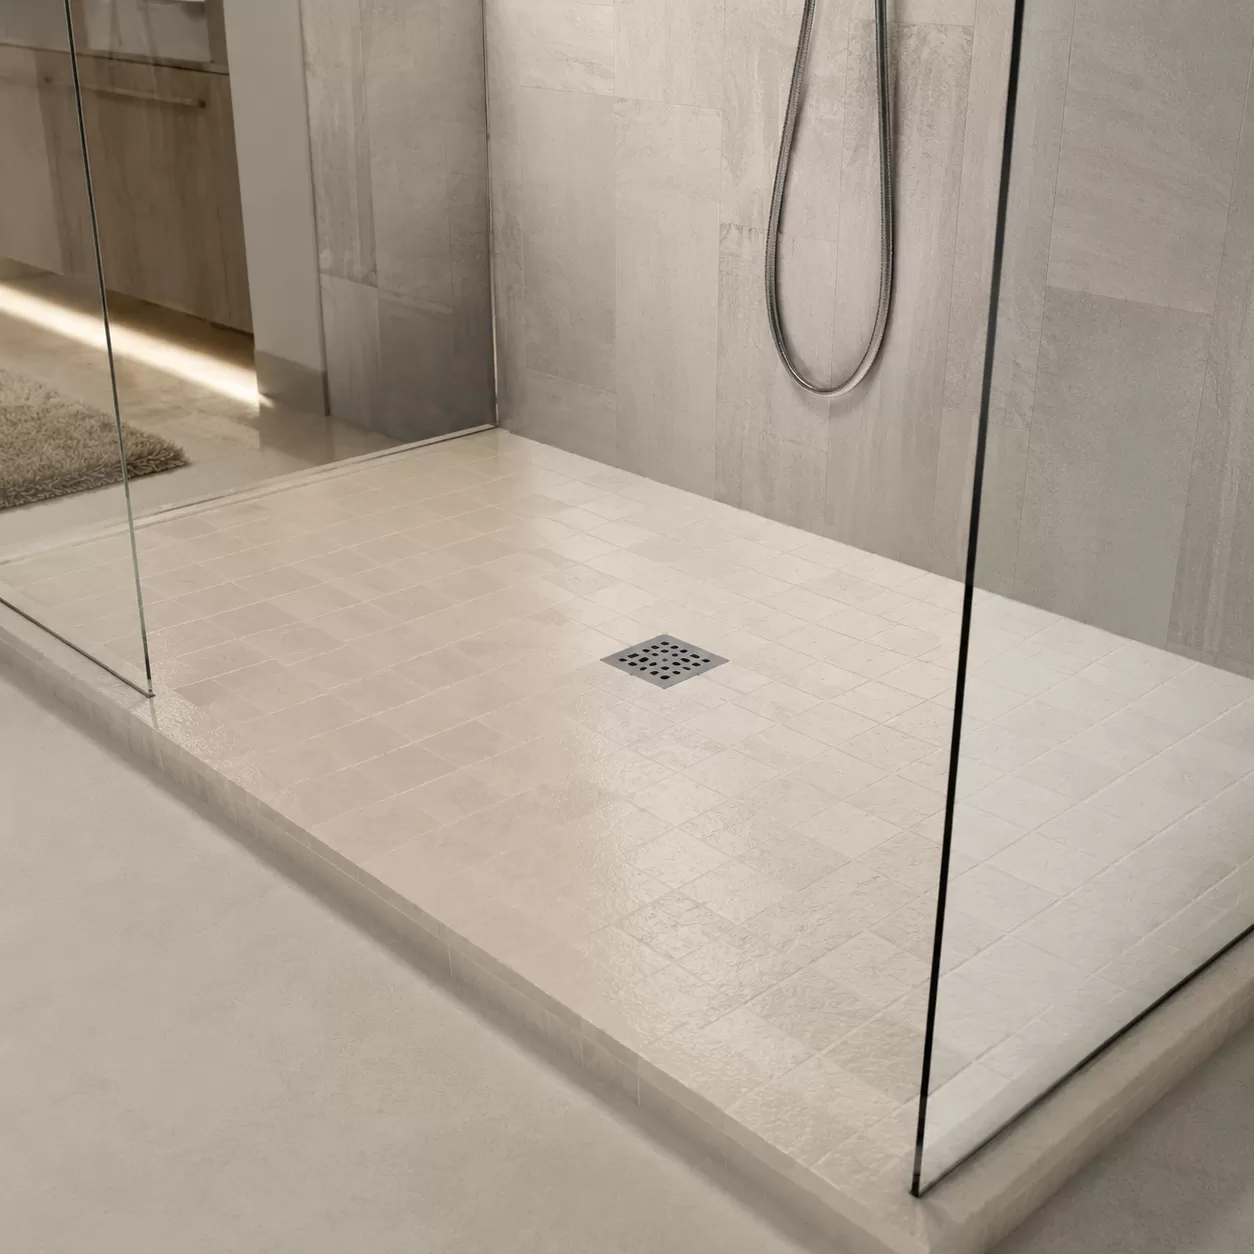
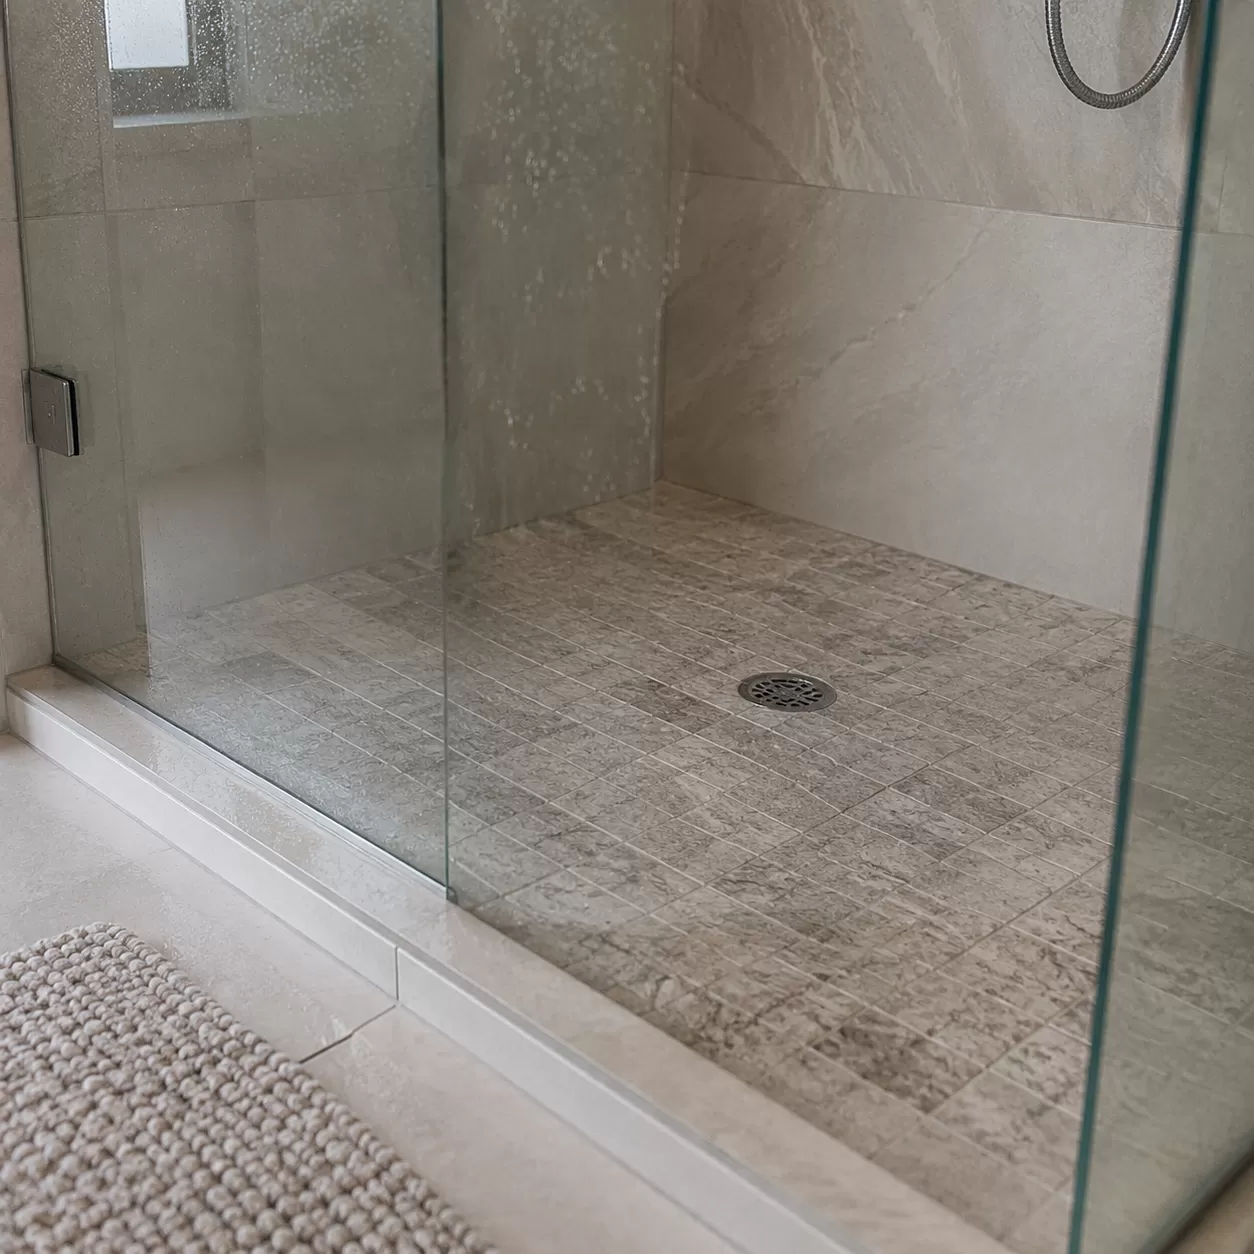
Why Mosaic Porcelain Tiles Provide Maximum Grip
Mosaic porcelain tiles are the ultimate choice for a safe shower floor. Because these tiles are small—usually 2×2 inches or less—they require a high density of grout lines. This matrix of grout acts like a built-in tread system. Your feet press into the recessed grout lines, which drastically increases slip resistance and keeps you grounded even on a wet matte finish.
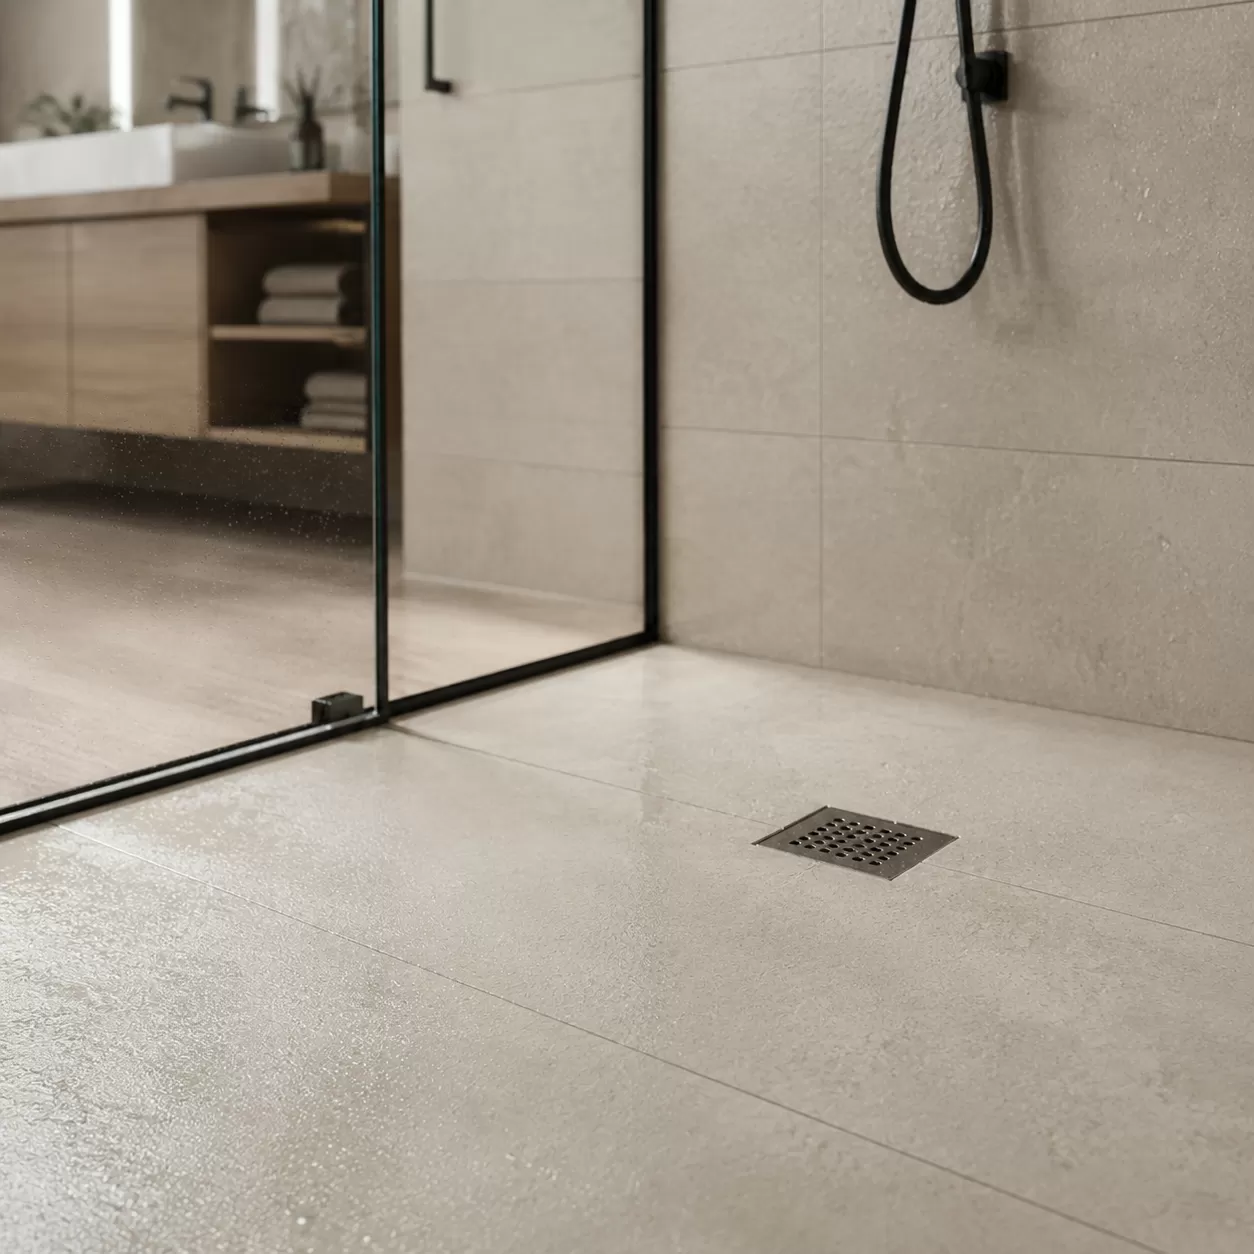
The Risks and Benefits of Large-Format Porcelain on Floors
Large-format porcelain tiles create a sleek, modern, and seamless look with fewer interruptions. However, they come with distinct safety risks on a shower floor.
- The Risk: Fewer grout lines mean a larger uninterrupted surface area. If water pools on a large tile, it creates a hydroplaning effect.
- The Benefit: They are incredibly easy to clean and minimize mold growth.
- The Verdict: If you choose large tiles, they must feature a heavily textured surface or a high slip-resistance rating to compensate for the lack of grout.
How Grout Lines Create Natural Anti-Slip Surfaces
Grout lines are the unsung heroes of bathroom safety. They break up the smooth plane of the porcelain, channeling water away from the surface and providing a rougher texture for your feet to grip.
| Tile Size | Grout Density | Slip Resistance Level | Best Used For |
|---|---|---|---|
| Mosaics (1×1 to 2×2 inches) | Extremely High | Maximum | Main Shower Floor Area |
| Medium Format (4×4 to 6×6 inches) | Moderate | Medium-High | Standard Shower Trays |
| Large Format (12×12 inches+) | Low | Low (Unless Textured) | Shower Walls / Dry Bathroom Floors |
How to Choose the Safest Porcelain Tile for Your Shower Floor
Picking the right tile isn’t just about the look; it’s about making sure you don’t take a tumble during your morning routine. As a porcelain tile manufacturer and supplier, I always tell my clients that safety ratings are the first thing they should check before falling in love with a design.
What COF and DCOF Ratings to Look For
When you are shopping for shower flooring, ignore the old COF (Coefficient of Friction) and look for the DCOF (Dynamic Coefficient of Friction) rating. This is the gold standard for testing slip resistance in wet environments.
| Metric | Minimum Requirement | Safety Level |
|---|---|---|
| DCOF Rating | ≥ 0.42 | Recommended for wet level floors |
| DCOF Rating | < 0.42 | Use for walls or dry areas only |
A rating of 0.42 or higher means the tile provides enough “grip” for a person walking on a wet surface. If you see a tile you love but it doesn’t meet this mark, keep it on the walls.
Selecting the Right Finishes and Textures for Safety
The finish of your tile determines how it reacts to water and soap. To keep your shower floor from becoming a skating rink, stick to these guidelines:
- Matte Finish: My top recommendation. It offers a smooth look without the slickness of glass.
- Textured Surface: Look for “slate-look” or “wood-grain” porcelain. The raised ridges provide mechanical grip.
- Lappato (Semi-Polished): Use with caution. Some are okay, but always do a “wet thumb test” to check the grip.
- Avoid High-Gloss: Polished porcelain is beautiful, but it’s far too slippery for a shower floor.
Comparing Porcelain vs. Ceramic and Natural Stone for Showers
While ceramic and natural stone are common, porcelain is generally the superior choice for high-moisture zones.
- Porcelain: Extremely dense and water-resistant (less than 0.5% absorption). It is harder than ceramic and holds up better against heavy cleaning.
- Ceramic: More porous and prone to cracking if hit by a heavy showerhead. It often lacks the high-end slip-resistant finishes found in modern porcelain.
- Natural Stone: Beautiful but high-maintenance. It requires constant sealing to prevent water damage and can become surprisingly slick if not honed correctly.
For a balance of slip resistance, durability, and ease of care, a textured or matte porcelain tile is the smartest investment you can make for your bathroom.
How to Make Existing Porcelain Shower Tiles Less Slippery
If your current shower floor feels like a skating rink, you do not need to rip out the entire floor. As a porcelain tile manufacturer and supplier, we know exactly how to fix slick surfaces without sacrificing your bathroom’s style. You can easily upgrade the safety of your existing tiles with a few simple, cost-effective solutions.
Applying Anti-Slip Treatments and Coatings
Chemical anti-slip treatments are the most effective permanent solution for slick floors. These treatments create microscopic texture on the polished porcelain or matte finish without changing how the tile looks.
- Slip-Resistant Sealers: Apply a high-quality, clear anti-slip sealer designed specifically for porcelain.
- Acid-Etching Formulas: These treatments microscopic track into the glaze to increase traction instantly when wet.
- Long-Lasting Results: One proper application can keep your shower floor safe for years with minimal maintenance.
Using Bath Mats and Safety Grip Stickers
For an immediate, non-chemical fix, adding physical traction directly to the textured surface of the floor works wonders.
- Rubber Suction Mats: Choose high-quality rubber or silicone mats. Look for options with plenty of drainage holes to prevent water pooling.
- Adhesive Grip Strips: Apply heavy-duty, waterproof anti-slip stickers. Clear or color-matched strips blend right into the tile design.
- Placement Tip: Clean and dry the tile completely before applying adhesives to ensure they stick permanently.
Regular Cleaning to Remove Slippery Soap Residue
Often, the tile itself isn’t the problem—it is the invisible layer of grime sitting on top of it. Body oils, shampoo, and soap scum create a slick film that ruins the natural slip resistance of your floor.
| Cause of Slippiness | Cleaning Solution | Frequency |
|---|---|---|
| Soap Scum Build-Up | Alkaline-based bathroom cleaners or vinegar mixes | Weekly |
| Body Oils & Grime | Degreasing dish soap and a stiff scrub brush | Bi-weekly |
| Hard Water Scale | Commercial scale removers | Monthly |
Keeping a squeegee in the shower to wipe down the floor after every use prevents these slippery films from forming in the first place.
Maintenance and Care for Shower Floor Porcelain Tiles
Keeping your shower floor safe doesn’t stop after installation. Over time, body oils, shampoo, and hard water can turn even the best textured surface into a skating rink. Proper maintenance ensures your slip resistance stays intact for years.
Daily Care and Best Cleaners to Avoid Slick Surfaces
Slippery showers are often caused by product buildup rather than the tile itself. Daily habits prevent that invisible, dangerous film from forming.
- Rinse After Every Use: Wash away leftover soap and conditioner with hot water immediately after showering.
- Squeegee the Floor: Spend 30 seconds pulling standing water toward the drain to prevent mineral deposits from settling into the matte finish.
- Choose the Right Cleaners: Use pH-neutral formulas. Avoid oil-based cleaners, wax, or heavily fragranced dish soaps, as they leave a slick coating on polished porcelain and unpolished tiles alike.
Deep Cleaning Methods to Prevent Soap Scum Build-Up
When daily rinsing isn’t enough, a weekly deep clean restores the natural grip of your porcelain tile.
- Apply a Vinegar Solution: Mix equal parts water and white vinegar in a spray bottle. Spray the floor generously and let it sit for 5 to 10 minutes to break down hard water stains.
- Scrub with a Nylon Brush: Use a stiff-bristled nylon brush to scrub the tile faces and grout lines. Never use steel wool, which can scratch the surface and ruin the texture.
- Baking Soda for Tough Film: For heavy soap scum, scatter baking soda over the wet tile, scrub gently to create a mild abrasive paste, then rinse thoroughly.
How and When to Seal Shower Grout Lines
As a premier porcelain tile manufacture and supplier, we build our tiles to be completely waterproof. However, cement-based grout is porous and will absorb water and grime if left unprotected.
- When to Seal: Seal your grout lines immediately after installation, and reapply the sealer every 12 to 18 months.
- The Water Drop Test: Pour a few drops of water onto the dry grout line. If the water beads up, your sealer is working. If it sinks in and darkens the grout, it is time to reseal.
- Application: Clean and dry the floor completely. Apply a high-quality penetrating grout sealer directly to the lines using a roller applicator, wipe any excess off the porcelain tiles within 5 minutes, and let it cure for 24 hours.
