Essential Preparation for Cleaning Tile Grout
Before asking how do you clean tile grout lines, you must start with proper preparation. As a trusted porcelain tile manufacture and supplier, we know that jumping straight into scrubbing without assessing the surface often leads to damaged floors. Proper preparation ensures your cleaning efforts are effective and safe for your investment.
Understanding Different Grout Types
Different grout materials require specific cleaning approaches. Identifying your grout type is the first critical step before applying any solution.
- Sanded Grout: Highly porous and commonly used for wider joints on floor tiles. It traps dirt easily but stands up well to a stiff grout brush.
- Unsanded Grout: Smoother and used for narrow joints, often on walls. It scratches easily, requiring gentler cleaning tools.
- Epoxy Grout: Highly durable, non-porous, and stain-resistant. It requires less aggressive cleaning and naturally repels most grime.
Why Grout Lines Discolor and Trap Dirt
Grout is naturally porous, acting like a sponge for liquids, oils, and dirt. Whether it is a high-traffic hallway or a wet bathroom floor, grout absorbs contaminants quickly. When paired with premium porcelain tile, dirty grout creates an unappealing contrast that ruins the aesthetic of the entire room.
| Cause of Discoloration | Common Locations | Impact on Grout |
|---|---|---|
| Hard Water Stains | Showers, bathroom floors | Leaves mineral deposits and a chalky, white residue. |
| Mold and Mildew | Damp, poorly ventilated areas | Causes black or green spotting deep within the grout pores. |
| Spills and Oils | Kitchens, dining areas | Creates dark, sticky patches that bind with household dust. |
Safety Precautions and Surface Testing
Never apply a new cleaning solution directly to the center of your floor. Always prioritize safety and surface integrity to prevent irreversible damage.
- Spot Testing: Apply your cleaner to a small, hidden area first to ensure it does not bleach the grout or etch the porcelain tile finish.
- Proper Ventilation: Open windows and run exhaust fans, especially when working with strong solutions in enclosed spaces.
- Protective Gear: Always wear heavy-duty rubber gloves and safety goggles to protect your skin and eyes from chemical splashes and debris.
Top DIY Natural Grout Cleaning Solutions
I have found that you don’t always need to reach for harsh industrial chemicals to get professional results. Many of the most effective ways to clean tile grout lines involve simple ingredients already sitting in your kitchen pantry. These DIY methods are cost-effective, safer for indoor air quality, and remarkably efficient at lifting daily grime from your bathroom floor or kitchen backsplash.
Baking Soda and Hydrogen Peroxide Paste
This is my go-to “power couple” for brightening dingy grout. Hydrogen peroxide acts as a natural whitener and disinfectant, while baking soda provides a gentle abrasive quality that lifts surface stains without scratching your porcelain tile.
- The Recipe: Mix two parts baking soda with one part hydrogen peroxide.
- The Application: Apply the thick paste directly onto the grout lines.
- The Secret: Let it sit for at least 10 to 15 minutes. This allows the oxygen ions to penetrate the porous grout and break up the bond of the dirt.
- The Scrub: Use a stiff grout brush to work the paste into the grooves before rinsing with warm water.
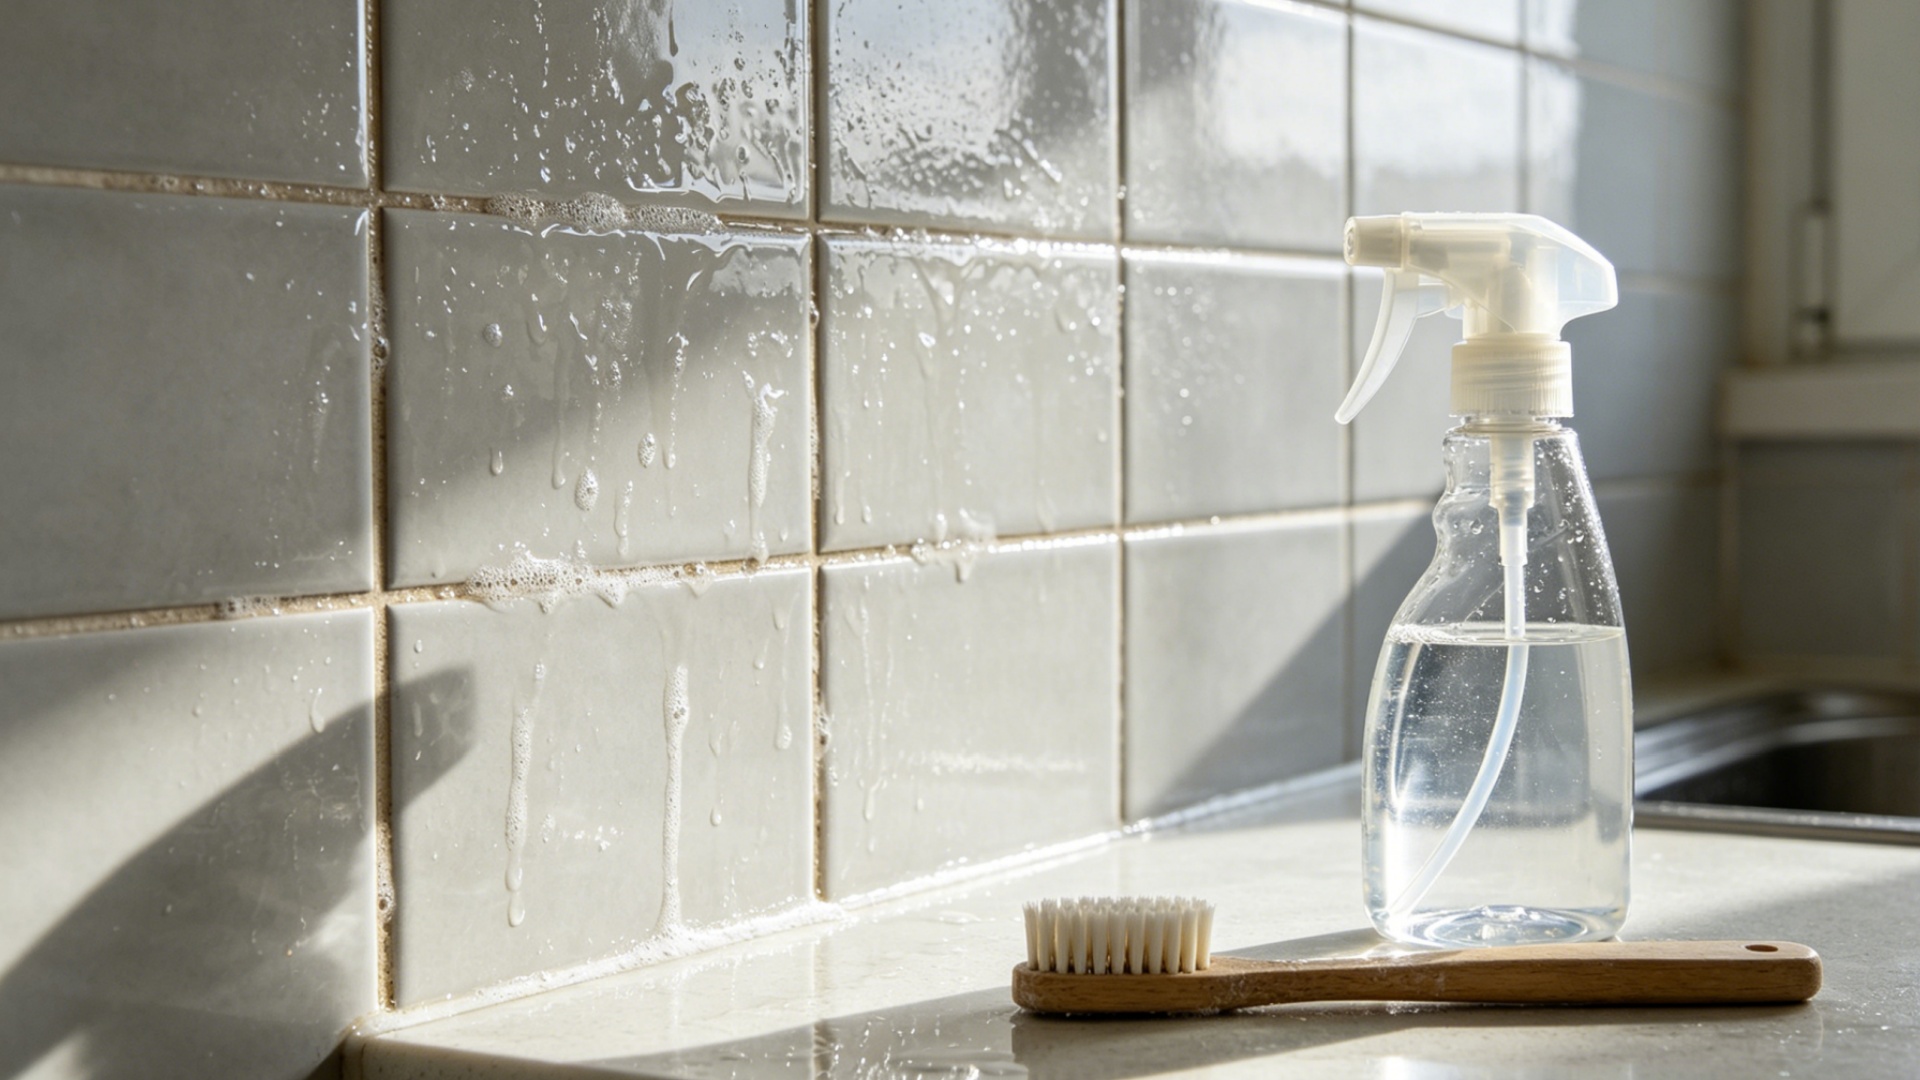
Vinegar, Lemon Juice, and Dish Soap Mixture
For general maintenance and cutting through soap scum or hard water deposits, a mild acidic spray works wonders. This mixture is particularly effective for vertical wall tiles in showers where grime tends to slide down and settle.
- Combine 1/2 cup of baking soda, 1/3 cup of lemon juice, and 1/4 cup of white vinegar in a spray bottle.
- Add a tablespoon of liquid dish soap to help the solution cling to the grout.
- Spray the lines liberally and let the fizzing action do the heavy lifting.
- Wipe away with a damp microfiber cloth or a sponge.
The Pros and Cons of Using Acidic Cleaners
When figuring out how do you clean tile grout lines effectively, you have to understand the chemistry of your cleaners. Acidic solutions like vinegar and lemon juice are fantastic for dissolving mineral buildup, but they come with a few warnings.
- The Pros: They are excellent at killing mold spores and removing alkaline stains like hard water scale. They leave a fresh scent and are completely non-toxic.
- The Cons: If used too frequently or in too high a concentration, acid can slowly erode cement-based grout, making it more porous over time.
- Pro Tip: Never use acidic cleaners on natural stone like marble or limestone, as they will etch the surface. Stick to using these specifically on porcelain tile or ceramic surfaces where the glaze provides a protective barrier.
Effective Commercial Grout Cleaners and Tools
When people ask me, “How do you clean tile grout lines effectively?”, I often point them toward commercial-grade solutions for heavy-duty messes. Since we are a porcelain tile manufacture and supplier, we know exactly what works best to lift stubborn dirt without ruining your floors.
Heavy-Duty Chemical Brighteners and Deep Cleaners
For a heavily soiled bathroom floor, commercial brighteners and chemical cleaners are highly effective. Alkaline-based deep cleaners dissolve grease, soap scum, and embedded dirt fast.
- Oxygen Bleach Powders: Safe for most colored grout and highly effective at lifting organic stains.
- Alkaline Degreasers: Perfect for kitchen floors where cooking oils settle into the grout lines.
- Grout Renewers: Specialized liquids designed to safely restore the original color of the grout.
Using Specialized Grout Brushes and Magic Erasers
You cannot rely on a standard mop to clean recessed lines. You need the right physical tools to agitate the dirt and lift it out of the pores.
- The Grout Brush: Look for a dedicated grout brush with stiff, V-shaped nylon bristles. It fits perfectly into the narrow gaps between your porcelain tile to scrub away grime with minimal effort.
- Magic Erasers: Excellent for quick touch-ups and spot-cleaning small surface stains without pulling out the heavy equipment.
Steam Cleaning for Chemical-Free Results
If you prefer to skip the chemicals entirely, a steam cleaner is your best option for restoring dirty grout.
| Steam Cleaning Benefit | Description |
|---|---|
| Deep Penetration | High-pressure steam blasts dirt out of porous grout instantly. |
| Sanitization | The extreme heat naturally kills bacteria and mold spores on contact. |
| Tile Safety | 100% safe for porcelain tile and leaves absolutely no chemical residue behind. |
Step-by-Step Guide to Deep Cleaning Grout Lines
When customers ask me, how do you clean tile grout lines, I always emphasize that the technique matters just as much as the cleaning solution. Whether you are tackling a high-traffic kitchen or a damp bathroom floor, following a systematic approach guarantees the best results without damaging your porcelain tile.
Applying the Solution for Maximum Penetration
The most common mistake is wiping the cleaner away too quickly. Grout is highly porous, meaning it needs sufficient time to absorb the active cleaning agents to loosen embedded dirt.
- Work in manageable zones: Focus on a small 3×3 foot section at a time so your cleaning solution does not dry out before you can scrub it.
- Saturate the joints: Apply your chosen cleaner generously, directly onto the grout lines.
- Allow for dwell time: Let the solution sit undisturbed for 10 to 15 minutes. This waiting period is critical for breaking down stubborn oils, soap scum, and bacteria.
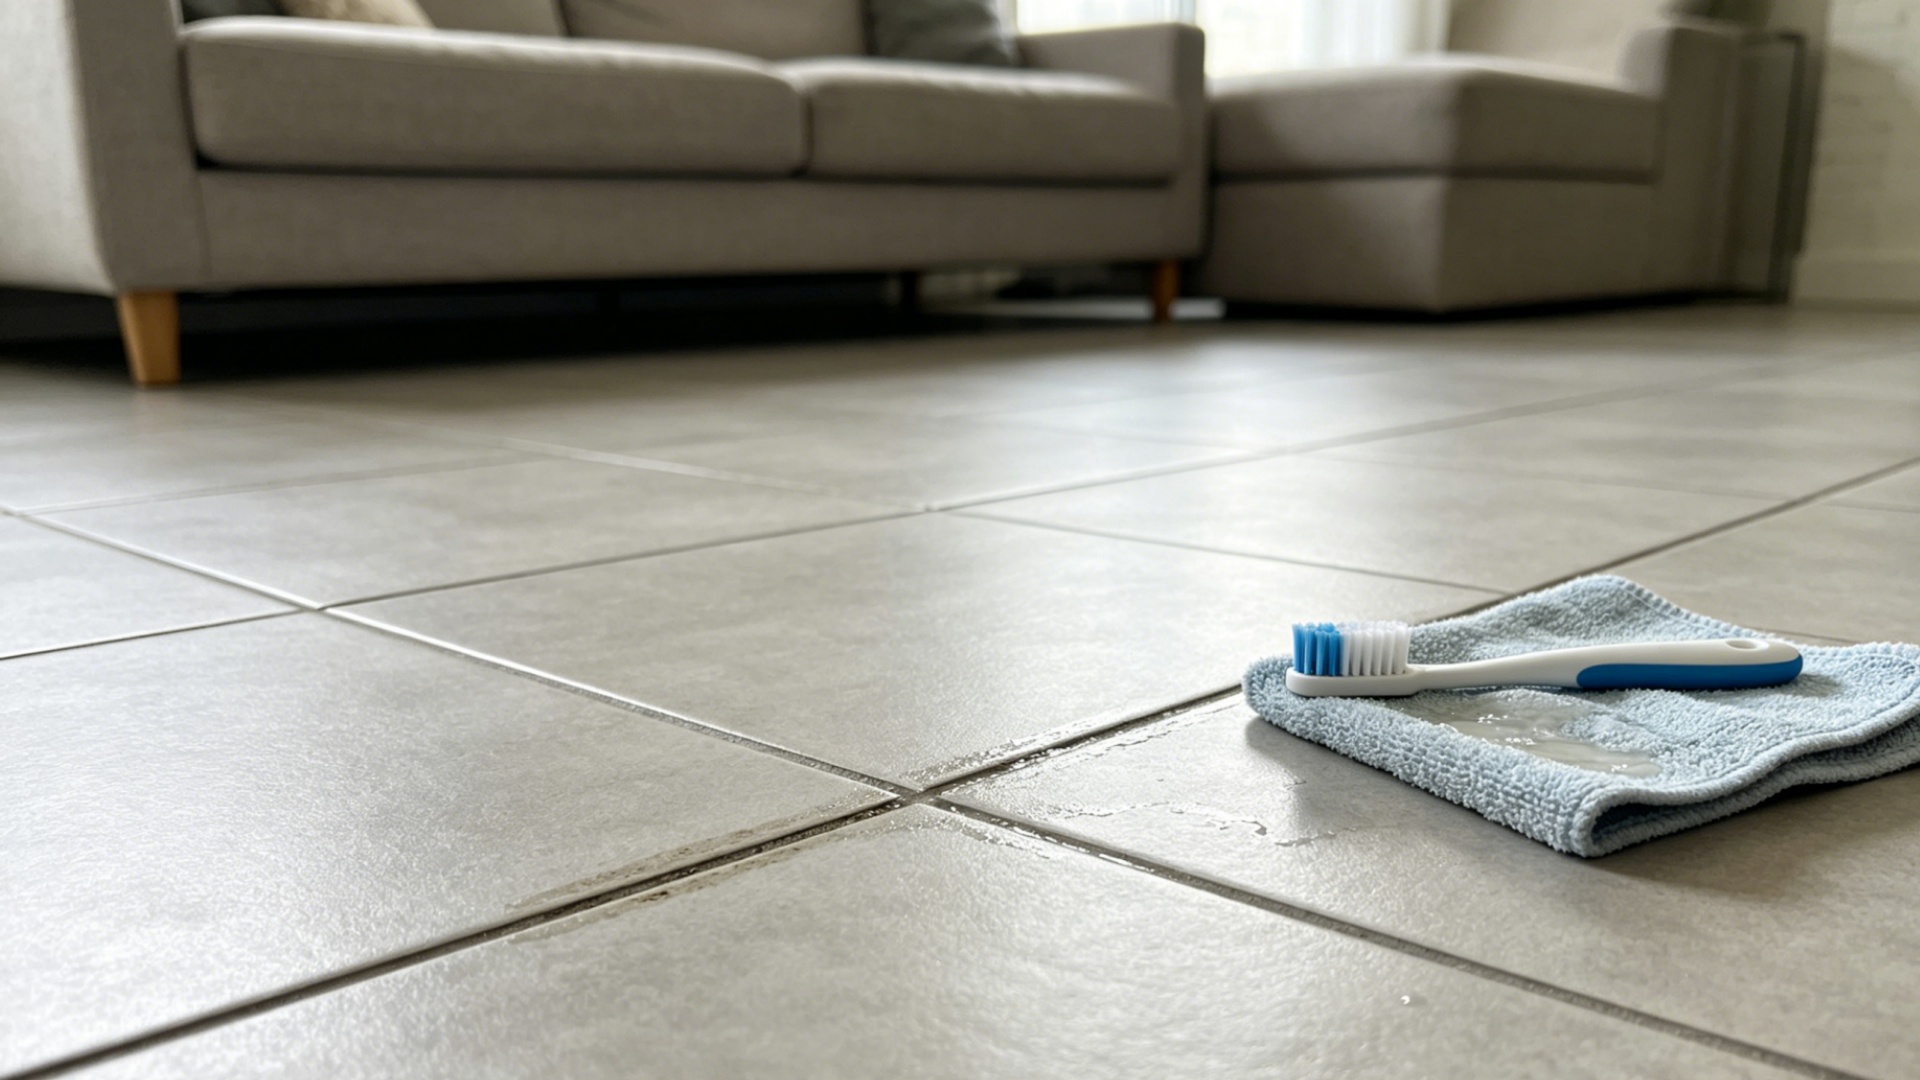
Effective Scrubbing Techniques for Tough Stains
Once the cleaner has soaked in, it is time to physically lift the grime. As a porcelain tile manufacture and supplier, we strongly advise against using metal wire brushes, which will scratch the tile glaze and permanently degrade the grout structure.
- Choose the right tool: Always use a stiff-bristled nylon grout brush. Its narrow profile is designed to fit perfectly into the joints.
- Use circular motions: Instead of just scrubbing in a straight line back and forth, scrub in tight circles. This allows the bristles to attack the porous surface from multiple angles, lifting dirt more effectively.
- Control your pressure: Let the chemical cleaner do the heavy lifting. Apply firm, moderate pressure. If a dark spot remains, reapply the solution rather than scrubbing aggressively.
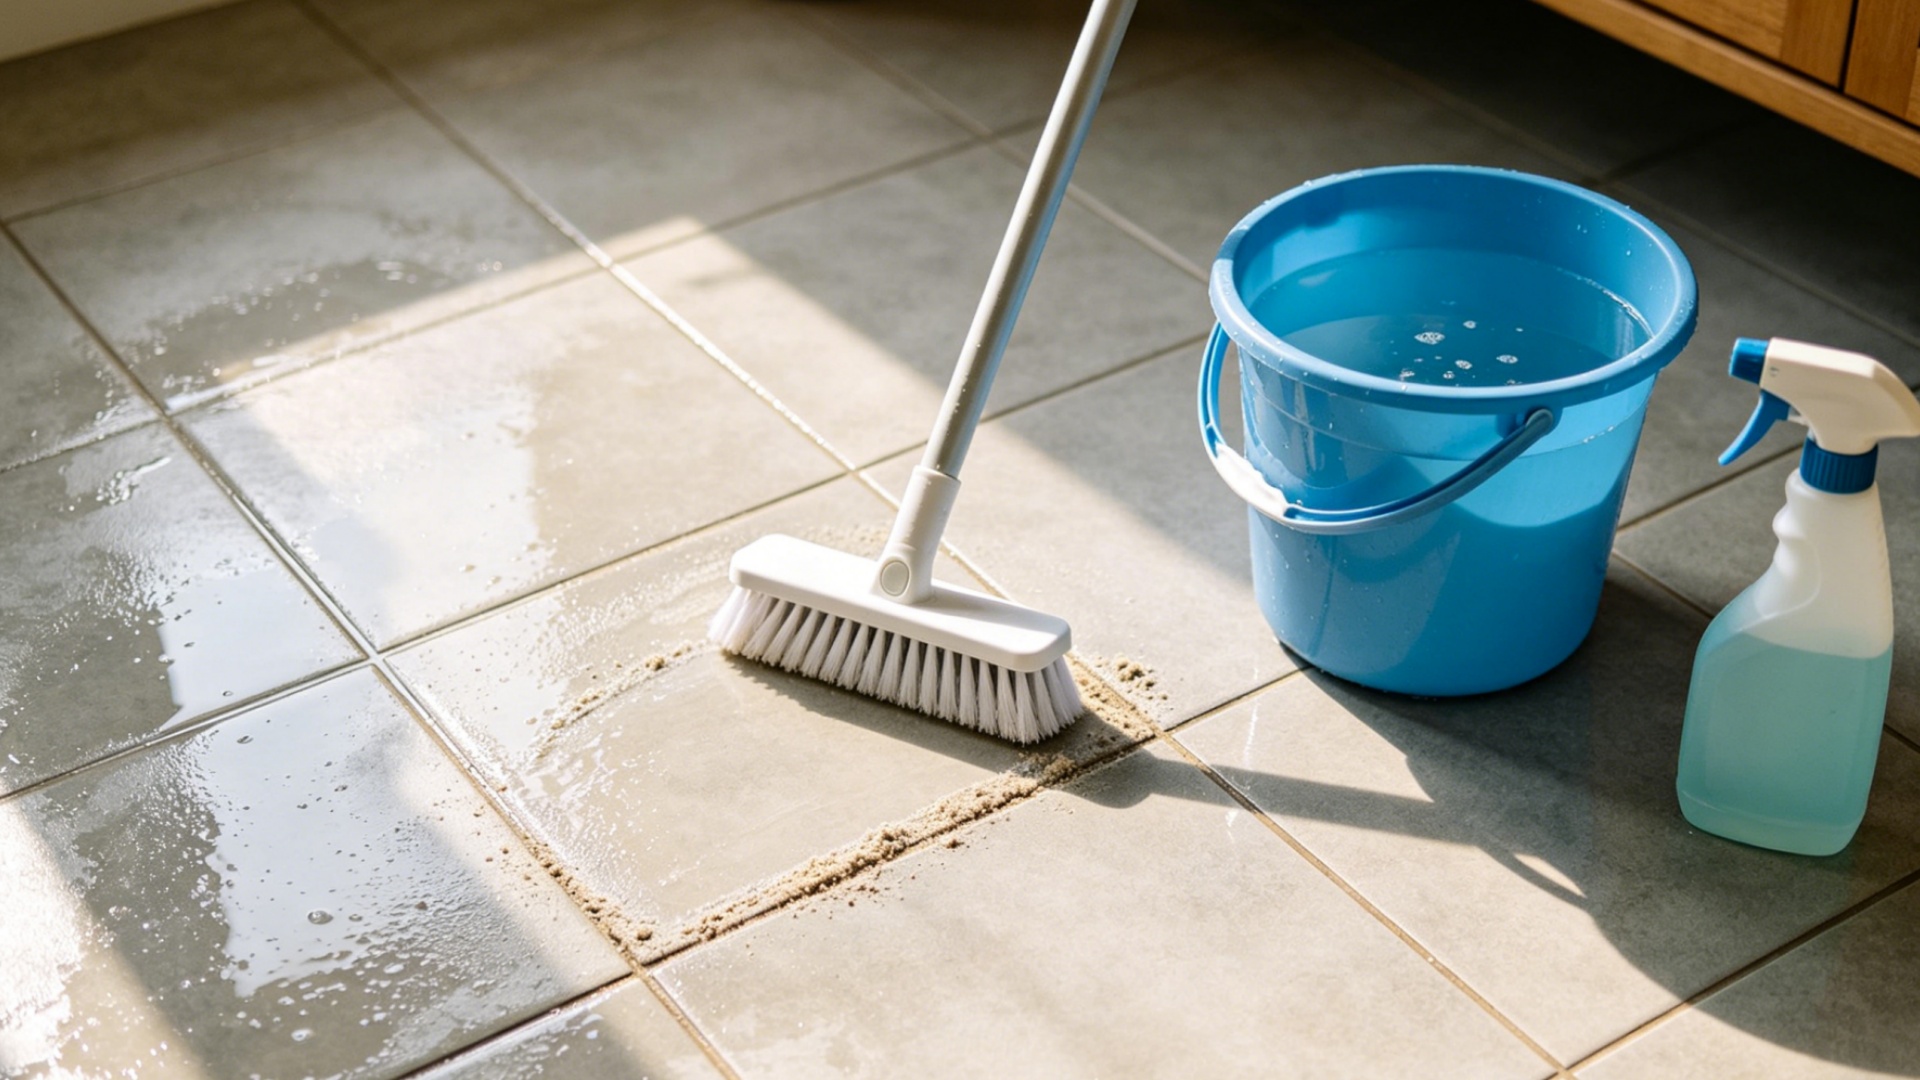
Proper Rinsing and Drying Procedures
Failing to rinse properly leaves behind a sticky residue that acts as a magnet for new dirt, ruining your hard work in a matter of days.
- Rinse with hot water: Use clean, hot water and a mop or sponge to wash away the loosened dirt and cleaning agents. Change your rinse water frequently to avoid spreading dirty water back onto the floor.
- Wipe with microfiber: Go over the entire surface with a clean microfiber cloth. This picks up any lingering dirty water resting in the grout depressions.
- Dry completely: Keep the room well-ventilated. Let the surface air dry completely for at least 24 hours. You can only see the true color of the clean grout once it is entirely dry.
How to Remove Stubborn Stains and Mold
When standard cleaning fails, you are likely dealing with deep-seated organic growth or permanent discoloration. As a porcelain tile manufacturer, I have seen how moisture and heavy foot traffic can ruin even the best-looking installations if these issues aren’t tackled aggressively.
Treating Deeply Embedded Mildew and Fungus
Bathrooms and laundry rooms are prime targets for mold. If you see black or green spots that won’t budge, you need a solution that penetrates the porous surface of the grout.
- Oxygen Bleach Paste: Mix oxygen bleach powder with a small amount of water to create a peanut butter consistency. Apply it to the moldy areas and let it sit for at least 30 minutes.
- Kill the Spores: Unlike chlorine bleach which just whitens, oxygen bleach kills the fungus at the root.
- Scrubbing: Use a stiff grout brush to agitate the paste into the pores before rinsing with warm water.
Restoring High-Traffic Floor Grout
Kitchens and entryways endure the most abuse. Dirt, grease, and outdoor debris get ground into the grout lines every time someone walks across the bathroom floor or kitchen area.
- Alkaline Degreasers: For greasy kitchen grout, use an alkaline-based cleaner rather than an acidic one. This breaks down oils that trap dirt.
- Dwell Time: Apply the cleaner and let it sit for 10 minutes. Never let it dry on the surface; keep it damp by misting with water if necessary.
- Mechanical Action: For large areas, a motorized grout scrubber or a heavy-duty hand brush is essential to lift the “gray” out of the lines and restore the original color of your porcelain tile installation.
Using Grout Pens for Quick Aesthetic Fixes
Sometimes a stain is permanent, or the grout has been chemically bleached over time. If you need the floor to look perfect immediately without the mess of regrouting, grout pens are the best tool.
| Feature | Grout Pen Benefit |
|---|---|
| Speed | Covers stains in minutes rather than hours of scrubbing. |
| Waterproofing | Most pens contain sealers that help repel future moisture. |
| Uniformity | Provides a perfectly consistent color across the entire floor. |
| Ease of Use | Works just like a felt-tip marker; simply “draw” over the clean, dry grout lines. |
Pro Tip: Always ensure the grout is 100% dry before using a grout pen, or the pigment will not bond to the cement properly.
Sealing and Long-Term Grout Maintenance
The Importance of Applying Grout Sealer
Grout is naturally porous, meaning it acts like a sponge for dirty mop water, spills, and bacteria. If you skip the sealing process, even the most thorough cleaning won’t last. As a porcelain tile manufacture and supplier, I’ve seen how unsealed grout can ruin the look of a high-quality installation. Applying a sealer creates a protective barrier that keeps liquids on the surface, making the question of how do you clean tile grout lines much easier to answer in the future because the dirt simply can’t sink in.
How to Correctly Apply Sealer to Clean Grout
Applying sealer isn’t difficult, but it requires patience and the right conditions. Follow these steps for a professional finish:
- Ensure it’s dry: Wait at least 24 hours after deep cleaning to ensure no moisture is trapped in the grout lines.
- Target the lines: Use a specialized applicator or a thin brush to apply the sealer directly to the grout.
- Wipe the tile: Sealer is meant for grout, not the tile surface. Use a clean cloth to wipe any excess off your porcelain tile within 10 minutes to prevent a cloudy film.
- Test the seal: Once dry, drop a bit of water on the grout. If it beads up, you’re protected. If it soaks in, apply a second coat.
Routine Habits to Prevent Future Discoloration
Maintaining a clean bathroom floor or kitchen backsplash is all about consistency. Small habits prevent the need for aggressive scrubbing later on.
| Habit | Benefit |
|---|---|
| Squeegee after showers | Removes standing water that causes mold and mildew growth. |
| Frequent sweeping | Prevents dry dirt from being ground into the grout by foot traffic. |
| Use pH-neutral cleaners | Protects the integrity of the sealer; acidic cleaners strip it away. |
| Immediate spot cleaning | Stops pigments from staining the grout lines permanently. |
By keeping the surface dry and the sealer intact, you maintain the aesthetic value of your space without needing heavy-duty chemicals. Regular maintenance with a soft grout brush and mild soap is usually all it takes once the lines are properly protected.
Common Grout Cleaning Mistakes to Avoid
When customers ask us how do you clean tile grout lines, we always start with what not to do. Because we are a porcelain tile manufacture and supplier, we see the aftermath of bad cleaning habits daily. Avoiding these common errors will save your floors and keep them looking new.
Avoiding Damage from Harsh Abrasives
Scrubbing too hard with the wrong tools will destroy your grout and permanently scratch your porcelain tile.
- Ditch the metal: Never use steel wool or wire brushes.
- Use the right tool: Always stick to a dedicated, nylon-bristle grout brush.
- Skip abrasive powders: Harsh scouring powders physically wear down the grout surface over time.
The Risks of Overusing Undiluted Bleach
Pouring straight bleach on a dirty bathroom floor might seem like a quick fix for mold, but it causes severe structural damage.
- Erodes the mix: High-concentration bleach breaks down the cementitious bonds in the grout.
- Causes crumbling: Routine bleach use guarantees your grout will eventually crack and wash away.
- Destroys color: Bleach will permanently fade and discolor tinted grout lines.
Why You Should Never Skip the Sealing Process
Leaving your grout unsealed after a deep clean is the biggest maintenance mistake you can make.
- Acts like a sponge: Bare grout is highly porous and absorbs dirt, spills, and dirty mop water instantly.
- Wastes your effort: Without protection, deep stains will return in a matter of weeks.
- Lock it in: Always apply a high-quality penetrating sealer once the grout is 100% dry to block future discoloration.
